Serving as perhaps one of the most beneficial tutorials we‘ve ever made, this post will teach novice Photoshop users how to properly implement what is known as the Kaleidoscope effect. In addition to looking amazing and helping your images standout, this effect is extremely useful for those wanting to learn more about the different tools found within Photoshop. Why? Simply because many of the steps below call for multiple different tools, and a lot of different strategies are used throughout the process. So, whether you are looking to brighten up your images or learn more about your Photoshop interface, be sure to keep on reading!
Step 1: Create Both A Hexagon, And A Triangle
Create a hexagon
The first step in this process is to create a Hexagon. For those unfamiliar with creating this shape in Photoshop, it is actually fairly easy. Just make sure you create the shape with an A4 document, since the Hexagon will be used as the foundation for your Kaleidoscope.
NOTE: Shapes with more sides and additional features can be used for those wanting to create a more creative look, however, the basic Hexagon is strongly recommended, especially for those just starting out.
Next, you are going to want to create a triangle. This too is fairly simple, and after creating the Hexagon, it should come as second nature to you. The only thing to make sure of is that the triangle is done in a completely different color than that of the previous shape.
NOTE: For the best results with your triangle, be sure to use the line tool, and set it to a 5px setting.
Step 2: Import Your Image

The second step is to import your image onto a new A4 document. To do this, simply open a new A4 in the Photoshop menu, and select a photo to place in the middle.
It is recommended that you use levels (cmd/ctrl+L) to not only increase the brightness of your photo, but to decrease all of the white levels as well. This is sure to add some much needed boldness to your image, and really make sure it stands out well.
Step 3: Drag Over The Triangle And Create A Few Neat Patterns Of Your Own With The Photoshop Spray Paint Tool
As you may have guessed, you are now going to need to drag the Triangle over your Hexagon, in order to intertwine the two shapes, and form the basic structure of your Kaleidoscope.
You can also create some neat, fully customized designs to even further better your shape. The tools that are recommended for these designs are Photoshop‘s spray paint and ink.
Step 4: Add Some Final Edits To Your Marks

After completing step 3, it is time to add some finishing touches to the designs you‘ve created. This will enhance the overall image, and also make your Kaleidoscope designs look a lot more professional.
As most experienced Photoshop users know, the Rectangular Marquee tool is the best instrument for this job, and should give you the results you‘re after.
Step 5: Use The Magic Wand Tool To Add A Mark

Next, you are going to want to add your own customized mark by using the black spray paint, and dragging it over your original photograph. After doing this, make sure to delete all of the white space around your photo, and also invert the color of the mark you make, while also placing it on the corner of your triangle.
Step 6: Rasterise Your Layer

Now, you are going to want to drag your circular pattern across the photo in order to rasterise the layer. You are also going to want to delete the background in order to place the circles strategically around the model.
NOTE: It is highly recommended that you lower the opacity. This will help you see the pattern better and also brighten up the focus of your overall design.
Now, select the eraser tool and remove any unnecessary parts of your circles that are still there, and make sure to leave some overlapping too. Once you complete this step, you can then increase the opacity of your designs until you‘re happy with it.
Step 7: Use The Gold Spray Paint, And Then Create A Bubble

And more…
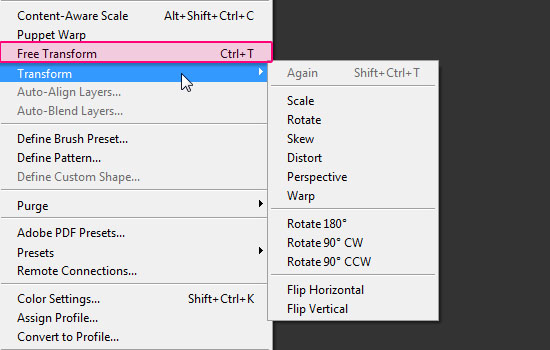
Back to the handmade marks: choose the gold spray paint, drag it over to the photo and erase its background. Use the Free Transform command on this shape (Cmd/Ctrl+T) to alter its size, then position it to mask part of the model’s face. To make it appear more realistic, add an outer glow (Layer>Layer Style>Outer Glow), choosing the Screen blending mode with opacity set at 75% and noise at 25%.
Create a bubble
Open the supplied cloudy sky image in a new document, play with the levels and choose the green channel. Reduce the mid-tones to 1.75 to make the image more vibrant. Then, with the Elliptical Marquee tool and holding down Shift, drag out a circle. Copy this shape and paste it onto the photo. Add a layer style to the shape, choosing Soft Light and setting the opacity to 88%. This creates a bubble-like effect. As before, duplicate the bubble a number of times around the image, altering its size.
Step 8: Add A Very Customized Feel And Some Much Needed Detail

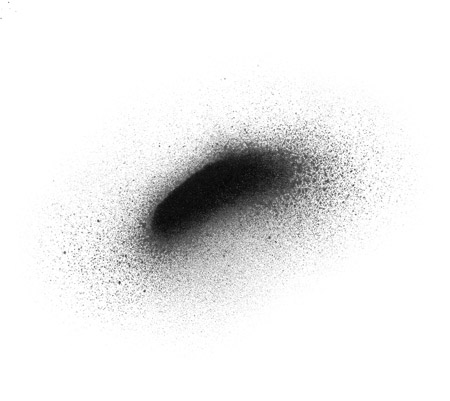
The next step is to add a handmade look to your creation. This is done by dragging the black splatter shape across your design and selecting the mark with Photoshop‘s Magic Wand Tool.
After doing this, you‘re going to want to choose Select>Similar to make sure that all parts are selected.
NOTE: You can change the color of your shapes by using the Fill Panel, and then the Color Picker to select any tone you‘d like.
Step 9: It Is Finally Time To Create The Actual Kaleidoscope
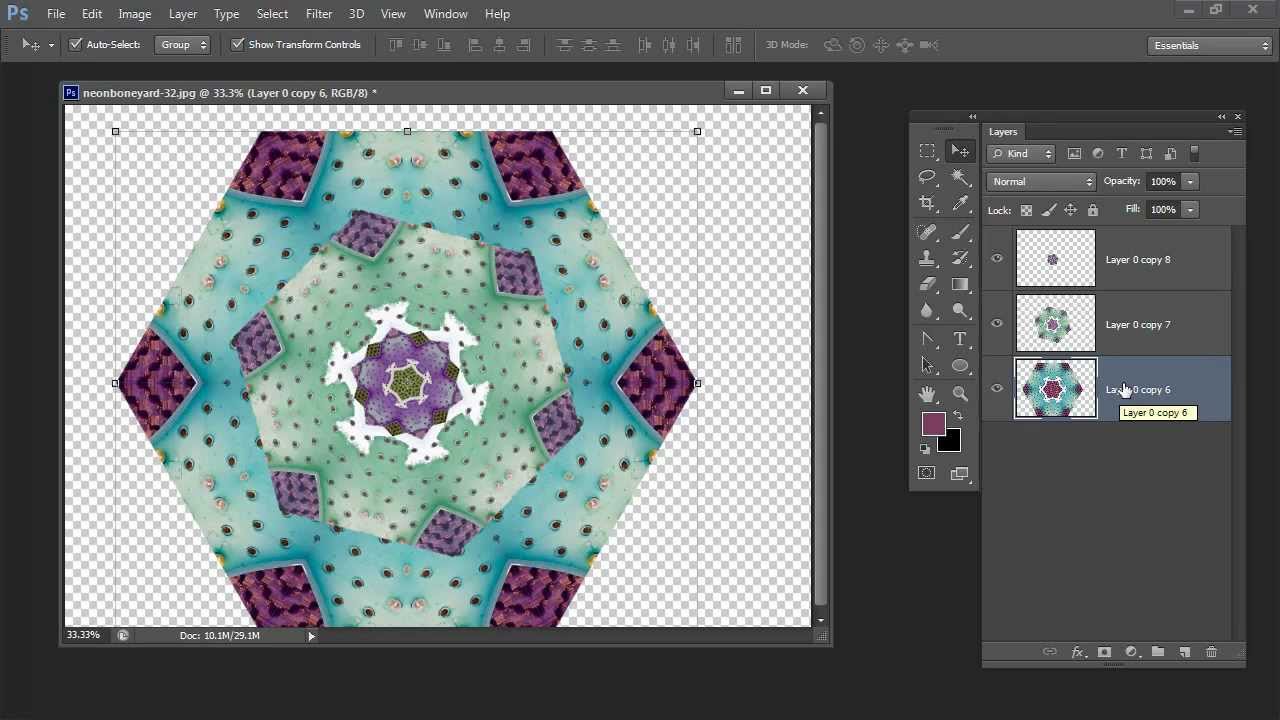
Finally, now you get to create the actual Kaleidoscope!
To do this successfully, you‘re going to want to make sure you turn your shape into a Kaleidoscope pattern by making sure the layer of your triangle is towards the top of your design. Then, combine all of the other layers together and use the Polygonal Lasso Tool to trace your triangle. This will not only turn the focus toward the triangle shape, but it will also brighten your entire design.
Step 10: Duplicate Both Your Triangles, And Your Hexagons
Lastly, you‘re going to want to duplicate your triangles by creating a new document. This will of course be the final pattern, and the best way of going about this is by creating a new document, duplicating the shape, and flipping it vertically. This should give you the Kaleidoscope look you‘re going for, but if you‘re still unsatisfied, you can use the Free Transform command and rotate the shape even further, and duplicate the hexagons to create an even more appealing look.