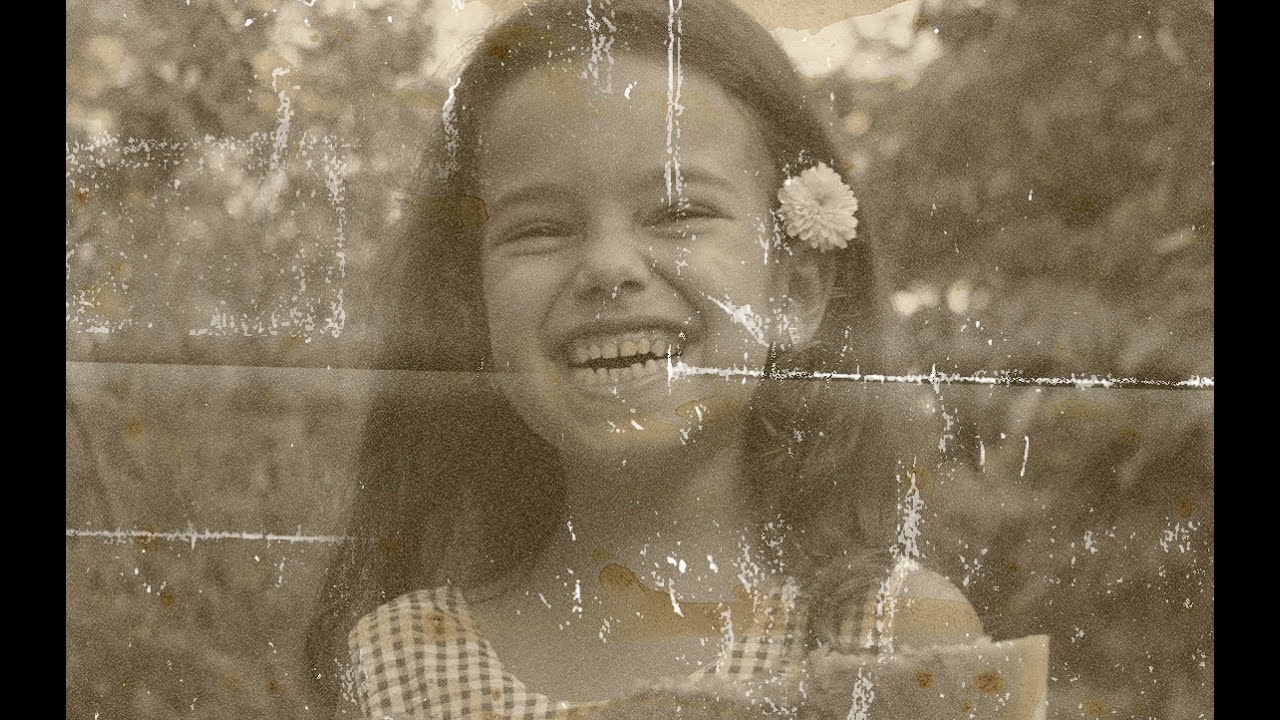
Whether you‘re wanting to make a photo look older, or you‘re just wanting to learn more about the tools of Photoshop, this tutorial should certainly be of interest. Not only will it give you a vast insight on exactly how layer conversions and grayscales work, but it will give you the ability to turn any photo you have into a vintage work of art, within just a few minutes. This useful technique is often implemented by experienced Photoshop users, and is one of the most commonly used strategies. In addition to allowing you to replicate any old photo, it will also help you impress the people who view your work.
Step 1: Choose The Photo That You Would Like To Use
The first step is pretty self explanatory, and should be rather obvious. You will need to select the photo you‘re wanting to use, and make it the forefront of your screen. If for any reason you are unsure on what photo to use for this process, self portraits tend to work best and are highly recommended.
Step 2: Add A Black And White Layer To Convert Your Picture To A Greyscale Image

Next, you‘re going to want to add a black & white adjustment layer to your photo, in order to turn it into a greyscale image. This is done by selecting the “enlarge image“ icon, and will also allow you to turn the image into sepia.
You should see the option to Create New Fill/Adjustment Layer towards the bottom of your screen. In order to add an adjustment layer to your photo, select this option. You should also choose Black & White, which will immediately transfer your photo into a greyscale image without doing anything else to alter the original photo.
Step 3: Add A Gradient Map Adjustment Layer

Now, you‘re going to want to add a gradient map to your image. This will allow the greyscale‘s tones to be converted properly.
You are going to need to replace all of your black/grey coloring, with some brown hues, then replace the lighter tones with a yellowish coloring. This is sure to give you the aged/vintage look that you are going for.
Step 4: Use The Gradient Editor To Modify Your Colors

Fortunately, since the Gradient Editor lets you modify and adjust the colors via Photoshop‘s Gradient Map, this step is fairly simple. Simply click the icon to enlarge the map, and start adjusting.
NOTE: To do this, go to Properties (at the top of your screen), then select Window > Properties. This should present you with the Gradient Map.
Step 5: Choose A Nice Shade Of Brown For Your Image To Replace The Dark Tones

You are now going to want to choose a subtle, yet noticeable shade of brown to replace the dark tones that were previously seen in the picture. This will certainly help the image to like more vintage, and should give you a good idea of what the finished product is going to look like.
Step 6: Choose A Nice Shade Of Yellow For Your Image To Replace The Light Tones

Next, remove all the light tones from your photo by choosing a shade of yellow to replace them with.
Step 7: Make Your Image “Grainy“
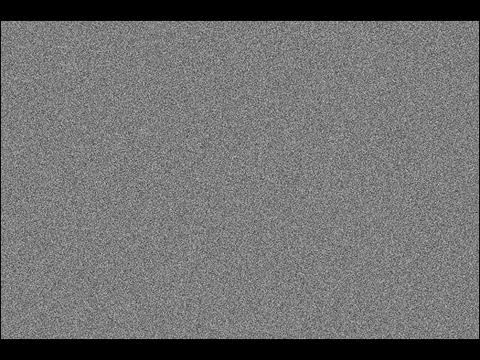
The next, and perhaps the most important step in the entire process, is to make the image grainy. For those who don‘t know what this term means, it will make your picture more rugged and aged, giving it the look you are after. To do this, simply click the icon to enlarge the image, then select the Background layer from your panel.
NOTE: Make sure to also select Noise > Add Noise to get the dialog box to appear.
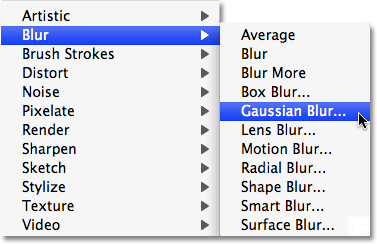
Step 8: Adjust Your Noise Levels, And Add A Gaussian Blur To Your Image
It is important to choose the right noise levels for your photo, and make sure they look naturally aged. This is a simple step, but much like step 7, it is very important to the overall quality of the image you are wanting to create.
NOTE: This can be done with the slider tool, which is located under the Amount field.
Step 9: Add A Neat Vintage Frame Around Your Image To Make It Look Even Better
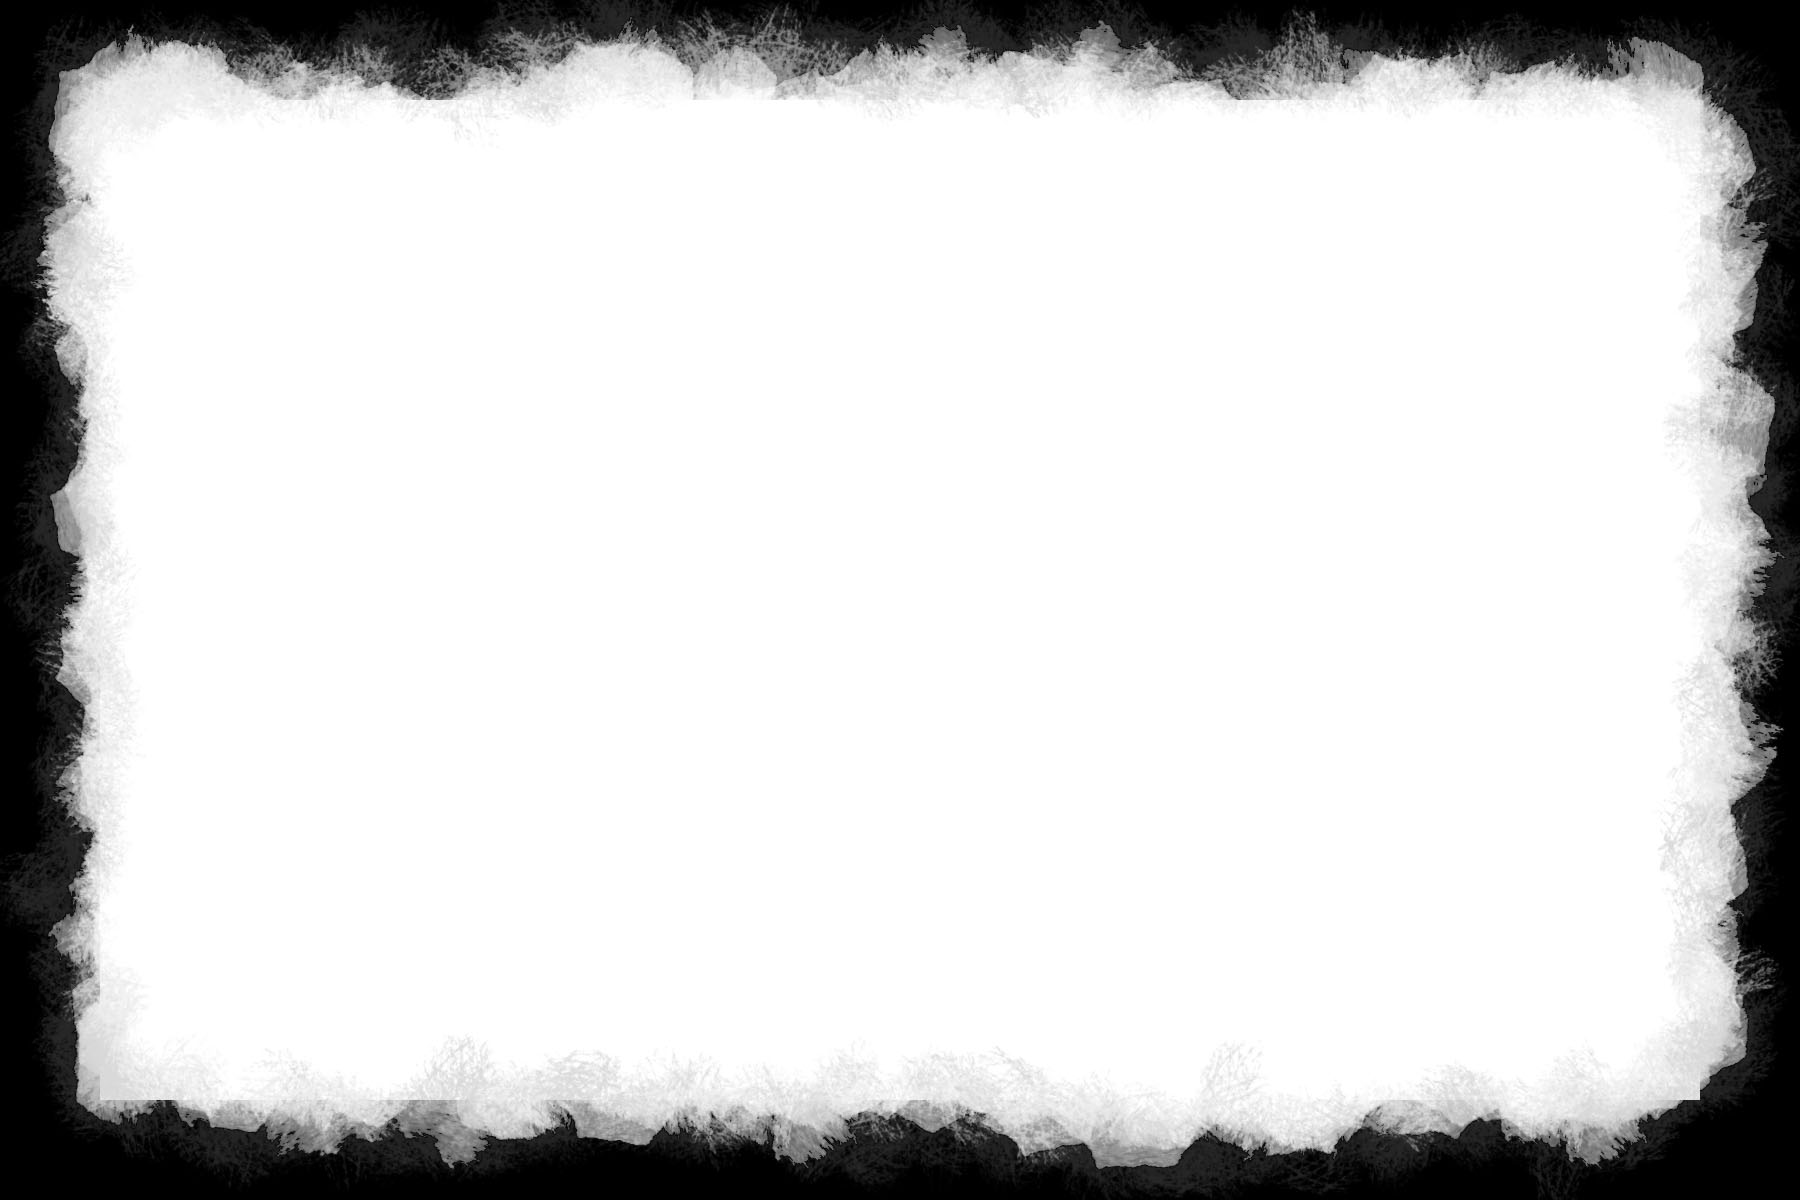
Now, try adding a nice frame to your photo. This step is not mandatory, nor will it make or break the image. However, it is sure to help it to appear as an older, more vintage looking photograph.